Get and activate your license
This project is partially open source. The source code of the Python interface is available on GitHub under the BSD 3-Clause License. The solver used in this project is not open source. You need a valid license key to use it.
Types of licenses
Trial license (free)
The license key A8C6DA-9405FB-E74FB9-C71C3C-207661-V3 can be used with networks containing up to 10 buses. For
example, this key can be used to follow the tutorials in this documentation or for personal projects. This key is valid
indefinitely.
Academic license (free)
Students and teachers are eligible for free unlimited licenses to use in academic projects. Please reach out to us at contact@roseautechnologies.com to obtain your free license key. The license key will be valid for one year and can be renewed.
Commercial license (paid)
For other commercial or personal use, a license has to be purchased. Please contact us at contact@roseautechnologies.com to obtain a personalized license.
How to activate the license in your project?
There are two ways to activate the license in your project:
Via environment variables (recommended)
Set the environment variable ROSEAU_LOAD_FLOW_LICENSE_KEY to the license key. When this environment variable is
defined, it will automatically be used by the solver to validate the license, no further action is required.
Please refer to the How to set an environment variable? section below if you need help setting an environment variable.
Using the activate_license function
Call the function activate_license with the license key as argument. This function will activate the license for the
current session. If you use this approach, it is recommended to store the license key in a file and read it from there
to avoid hard coding it in your code and accidentally committing it to your repository. Example:
from pathlib import Path
import roseau.load_flow as rlf

rlf.activate_license(Path("my_license_key.txt").read_text().strip())

# Rest of your code here
where the file my_license_key.txt contains A8C6DA-9405FB-E74FB9-C71C3C-207661-V3 (replace with your license key).
Important
Do not share your license key with others. The license key is personal and should not be shared
publicly. If you use a version control system like Git, make sure to exclude the file containing
the license key from versioning by adding it to your .gitignore file.
How to set an environment variable?
If you are not sure how to set an environment variable, this article has instructions for Windows, macOS and Linux. The section Persisting an environment variable explains how to make the environment variable persistent on your machine so that you don’t have to set it every time you open a new terminal.
For Google Colab users
The “Secrets” feature in Google Colab is very useful for defining local variables. In the left panel, open the ‘Secrets’
section. Create a new variable called ROSEAU_LOAD_FLOW_LICENSE_KEY, with the value being your license key. This
variable is personal to you, and the toggle will allow you to enable access to the license key for notebooks of your
choice.
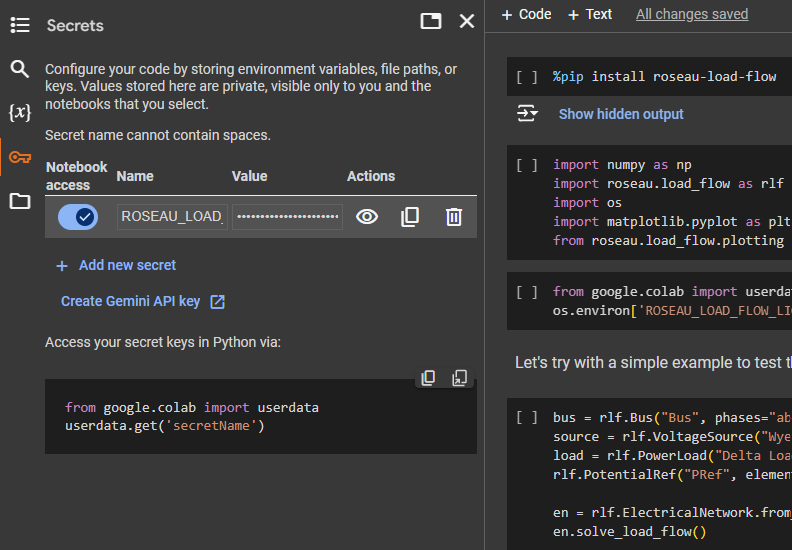
To set the environment variable, add the following in a cell at the beginning of your notebook:
from google.colab import userdata
os.environ['ROSEAU_LOAD_FLOW_LICENSE_KEY'] = userdata.get('ROSEAU_LOAD_FLOW_LICENSE_KEY')
For Jupyter Notebook users
If you are using a Jupyter Notebook, you can follow these instructions to set the environment variable:
Create a file named
.envin the same directory as you notebook with the following content (replace the key with your license key):ROSEAU_LOAD_FLOW_LICENSE_KEY="A8C6DA-9405FB-E74FB9-C71C3C-207661-V3"
Add a cell to the beginning of your notebook with the following content and execute it:
%pip install python-dotenv
%load_ext dotenv
%dotenv
The first line will install the package python-dotenv if it is not already installed. The next lines will load the extension
dotenvand load the environment variables from the file.envin the current directory (created in step 1).
For VS Code users
If you are using Visual Studio Code, you can create a file named .env in your
project directory (similar to step 1 for Jupyter) and VS Code will automatically load the environment variables from
this file when you run your code (including when using Jupyter Notebooks in VS Code).
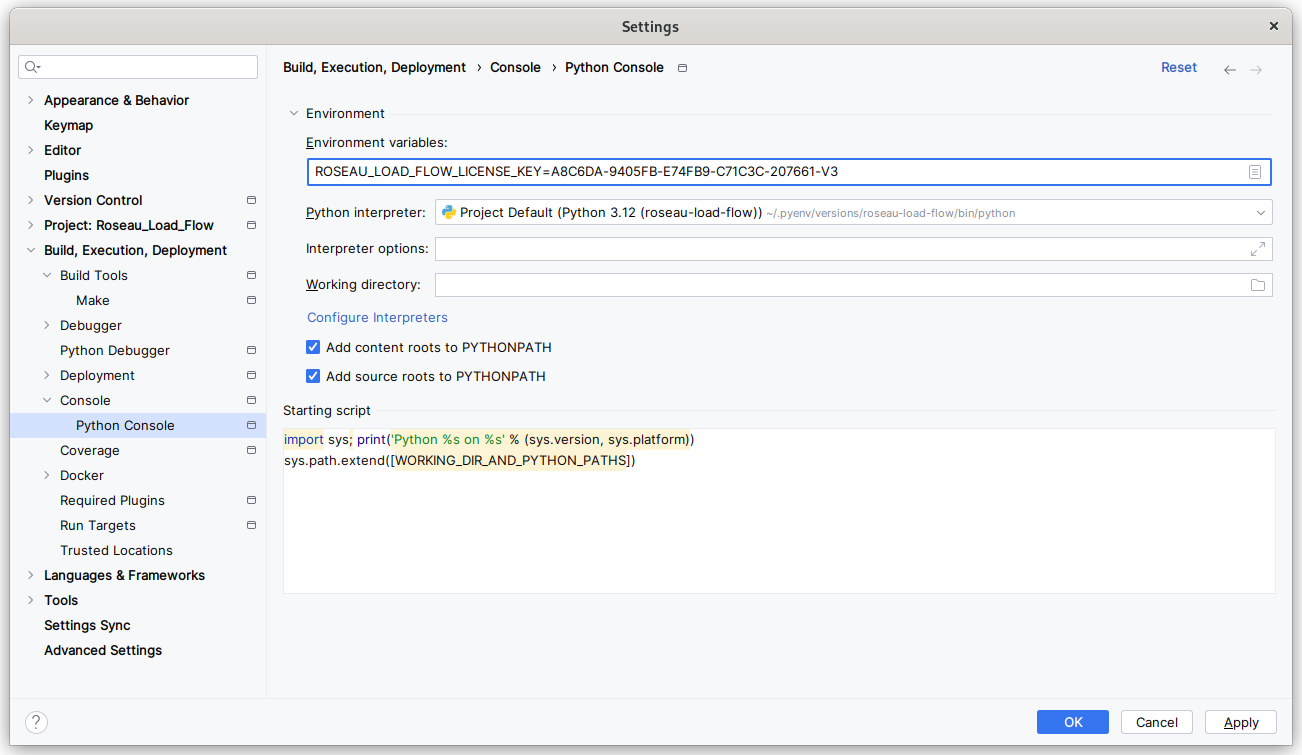
For PyCharm users
If you are using PyCharm, you can add the environment variable to your Python Console settings as indicated in the screenshot below: